


Step 23 - First Color Adjustments
Now it's time to focus on color adjustments. In this step you're going to desaturate the picture a little, change color with Selective Color and add violet tones.First of all you'll desaturate the picture a little. Add new adjustment layer Hue/Saturation on the top of the layers and set the value Saturation on -12.


Step 24 - Second Lens Flare
In this step you're going to make the lens flare more detailed by adding different type of it. Add a new layer on the top of your layers and name it LENS FLARE #2. Grab the Gradient Tool (G) and fill the layer with solid black color. Go to Filter > Render > Lens Flare and set the window as on the picture below.
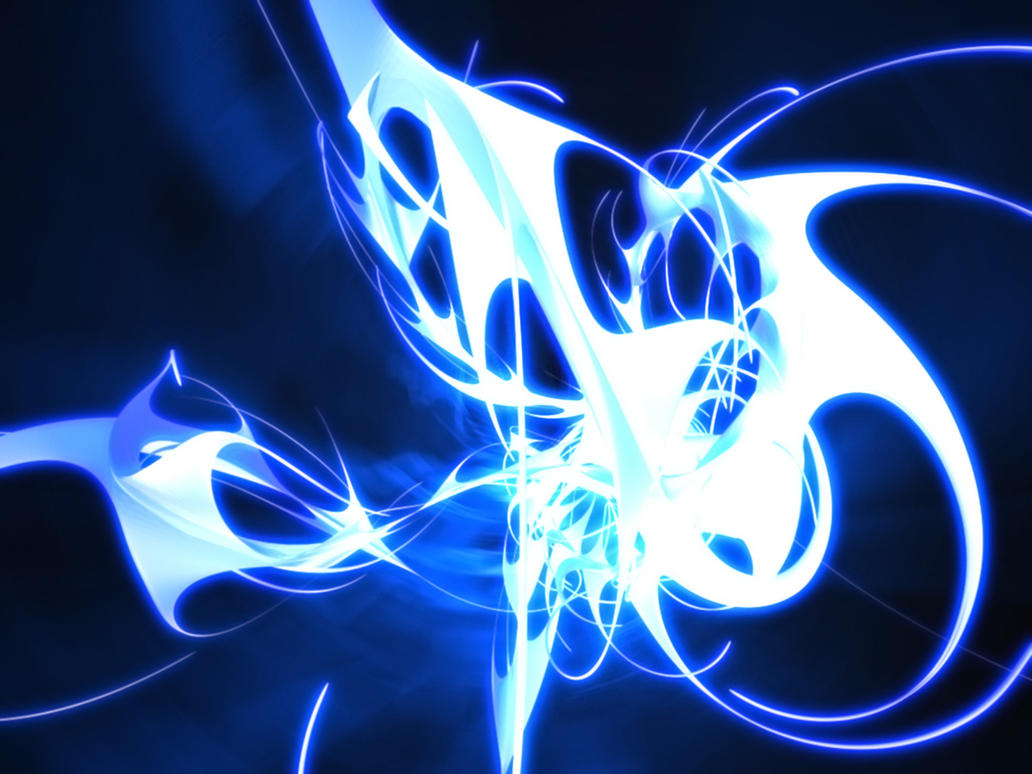
Step 25 - Adjusting the Lens Flare
As you may see on the following picture the effect of the lens flare is too bright and it doesn't look nice.

Step 26 - Darkening the Light Bulb
The light bulb should be bit darker. You'll fix it in this step. Add new adjustment layer Exposure on the top of all layers and set the values as it's shown on the following picture.

Step 27 - Changing Lights And Shadows
Lights and shadows on the flowers don't fit to the light scene of the rest image. You'll change them in this step.Add new layer on the top of all layers and name it e.g. LIGHTS AND SHADOWS. Grab the Gradient Tool (G) and fill the layer with #808080 grey color. Change the Blending Mode of this layer on Overlay.
Grab the Brush Tool (B), pick white color, lower the opacity on about 15% and paint over the areas where lights should be. Then pick black color and paint the shadows. Below you can see what I painted to get the inspiration.

Step 28 - Adding the Blur
Flowers which are behind the glass should be bit blurred. You're going to fix it in this step. Press Ctrl + A to select the whole picture and then go to Edit > Copy Merged or press Ctrl + Shift + C on your keyboard. Then go to Edit > Paste or press Ctrl + V to paste the merged image. Place this new layer on the top of all layers and name it BLUR. Go to Filter > Other > High Pass... and set the value Radius on 3 pixels.


Step 29 - Sharpening
The image would look better if it's sharper. To do that select the whole picture again by pressing Ctrl + A on your keyboard. Copy it merged (Ctrl + Shift + C) and paste it on the top of all layers. Name the layer SHARPENING. Go to Filter > Other > High Pass again but this time set the value Radius to you can see only thin lines around the edges. You can see what I mean on the picture bellow.
Step 30 - Second Color Adjustment
In this step you're going to add bit more violet tones to the picture and also increase the contrast little bit. First the violet tones - add new layer on the top of all layers and name it e.g. MORE VIOLET. Grab the Gradient Tool (G) and pick #6827C0 color. Fill the layer with it. Change the Blending Mode of this layer on Soft Light and lower the Opacity on 15%. To increase the contrast add adjustment layer Gradient Map on the top of all layers. Choose Black, White gradient and press OK. Change Blending Mode of this layer on Luminosity.

Step 31 - Adding Vignette
I really like vignettes because they are easy way how to gently lead viewer's eye into the picture. To create vignette add new layer on the top of all layers and name it VIGNETTE. Grab the Gradient Tool (G), pick white color and fill the layer with it. Now go to Filter > Lens Correction (the path may vary in different version of Photoshop) or press Shift + Ctrl + R. Set it as on the following picture.
Step 32 - Adding Reflection of the Sun
Now it's time to go back to our "light list" from the step 18. In this step you're going to add the reflection of the sun. I used the example photo again and circled the part of what you're going to create.
With the Eye Dropper Tool (I) select some very light color. Then grab the Brush Tool (B), set the Master Diameter on 40 pixels and lower the Opacity on 40%. Paint oval shape over the light bulb similarly as on the picture above.
Below you can see how your image should look like.

Step 33 - Shadow From the Holder
One more thing from the list needs to be done - the shadow made by holder. Below you can see the shadow on the example picture.
Pick some dark brown color from the ground. Grad the Brush Tool (B), set the Master Diameter on 100 pixels and Opacity on 40%. Paint shadow with similar shape as on the picture above.
Below you can see the result of this step. It's just a gently change but adds more on the realism of the picture.

Step 34 - Adding Grain
There is easy and effective way how to unify the look of the manipulation - you can add grain to it.To do that add new layer on the top of all layers and name it GRAIN. Grab the Gradient Tool, select #808080 grey color and fill the layer with it.
No go to Filter > Noise > Add Noise... and set the value Amount on 3%. Select Gaussian Distribution instead of Uniform and press OK.

Step 35 - Final Touch
You're almost finished the tutorial. There is one thing left which doesn't look well. According to me the mountain under the sun are too bright. To fix it add a new layer on the top of all layers and name it DARKER MOUNTAIN. Grab the Brush Tool (B). Pick some dark rose color from the sky and paint over the mountain. Then change the Blending Mode on Soft Light.Below you can see how the mountain look without this layer, with the layer on Normal and on Soft Light Blending Mode.

Final Results
Congratulation. You've just finished the manipulation. Thank you for reading the tutorial and hope you've learnt something new and useful during the reading or found inspiration for your new work. I'd like to see your work based on this tutorial in the comments! See you in the next tutorial- Jarka
![final_result[1]](http://photoshoptutorials.ws/images/stories/b96d5744ddaf_1BE9/final_result1.jpg "final_result[1]")
Tutorial By: Jarka Hrnčárková